Day 7-11 - 23/27 Sep 2015 - several activities

During Ied al-Adha holiday, I had several times to continue building this VW Beetle.

I put markings on the interior parts after the primer paint.
I'd like to have some lining highlight on the car-seats and door-trims as like crease/fold.


I painted another parts with Tamiya acrylic paint with brush.
One thing I learnt that avoid sweeping the brush in the same area when the paint was not dry yet.
Better swept the brush in one direction at the time.


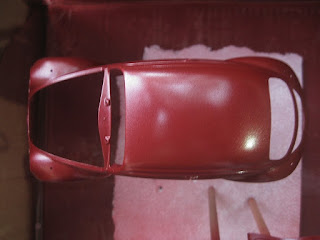
Continue with the body, I did wet-sanding after first-layer panting.
I used sand-paper no 2000 and wiped it very-very gently.


When it dried, here was the result.


While waiting for "right time" to put another layer of paint on the body, I started to assemble the engine and gear-box.


As I mentioned in previous section painting the parts without detaching from the sprue, the cons were :
- some areas of the parts to be attached, covered with paint. Either the primer paint or the main paint. This cause gaps. And to fix this, I had to clean the areas.
- when gaps appears, putty must be used
Those will require re-paint.


I glued the parts and let it for about 24 hours.


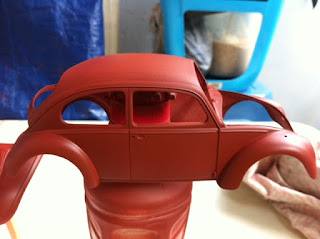
Finally, I had time to paint the body.
The result was great.


I thought that was enough and would put coating layer later.

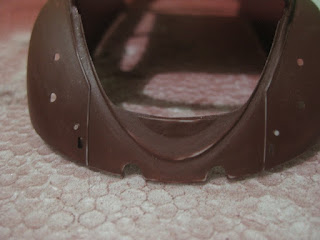
As I mentioned earlier, closing the gaps, putty must be used.


A bit messy, so I used masking tape to make the result more tidy.


Intermezzo - My working "desk"


Just a small corner in our bedroom, the lowest rack of the TV and bricks-display shelf.


(the Star Wars themes bricks belong to my daughter, the City theme and the Mixel bricks belong to my wife , the rest are mine .... :-)  )


When I paint the parts with spray-can, I do it outside - of course.

Day 6 - 22 Sep 2015


Put white primer on the rest of the parts.
I sprayed 3-rounds of misting one.


Put white primer on white parts, just imagined the result was like the one on the black parts.
:-)


I let them dry and gently sanded with no. 2000 as much as I can.
After that, I painted some engine parts with XF-56.


I didn't cut the parts from the sprue when did brush-painting.
It was easier to hold the parts - this is the pros, there is the cons, that I would inform in another section.

This was the first time I painted the parts with brush.
Not as scary as I imagined before but still need more learning to keep them as thin as possible.


Day 5 - 19 Sep 2015


I put main paint (TS-39).
This was the first layer with 3-rounds spraying.


Orange peel effect.


I would let them for about one week to make sure the paint stuck correctly.
I would start working with engine-parts.

Day 4 - 18 Sep 2015


Learning from Om Bobby (Auto Modelers Indonesia) about sanding, then I tried it.
I used sandpaper no. 1500 and followed with no. 2000 - dry sanding.
I tried to do it very gently - I guess - but still, the primer was removed in some areas.

I really have to learn on sanding much.


As we can see, the paint in some areas was removed, especially the raised parts.

Day 3 : 16 Sep 2015


I had some "free time" this morning to put the main paint.
I painted the bottom side of the body, the engine-hood, and the trunk-lid.


Day 2 : 12 Sep 2015


After around 18 hours, I started to do wet-sanding.
I used sandpaper no. 1500.

The result was unexpected - for me ....
The primer paint was removed.

Was it because the sandpaper grade is too abrasive or I rub to strong or I should give more time to the paint to stick in the body?


Then after the mokit was dry, I put primer paint again.


It was better - I think ...

I will let it dry longer than previous one while waiting for some inputs from seniors in "AMI [Auto Modelers Indonesia]"


Update - 13 Sep 2015 - afternoon :
After searching and googling, then I knew that sandpaper no. 1500 is very abrasive to do wet-sanding in Plamo.
It must be started from no. 3600 up to 10000.
:-)

Update - 16 Sep 2015 :
Knowledge sharing from Bobby Indra Buwono (member of AMI - thank you) about painting steps :
1. base body should be sanded with sandpaper no. 400 to remove seamline then sanded with fine-degree sandpaper to make base-paint/primer sticks better.
2. put primer paint then sanded with no. 1000 to remove "orange peel effect".
3. put first layer of main paint.
4. wet-sanding with microfine-degree/no. 2000 sandpaper.
5. repeat step no. 4 for each layer of paint.
6. put clear paint as top-coat.

I think I must learn much on sanding ........ :-)