Showing posts with label Building process of Tamiya VW Beetle type 1966 1/24. Show all posts

White-wall Tire


As this Beetle is classic one, I'd like to have the tire with white wall stripes on it.

The were several options :
- Drawing-pen marker, like Snowman marker
- Tire marker paint, like Toyo Paint
- Tamiya PS

I preferred to use the drawing-pen marker as it had smallest pen-tip and easier to control.

Make sure the tires were washed and dried.


Notice that there were tiny lines on the tire, near the inner rim.
There I would put the paint.


After painted with white marker. 
Seems the paint was not blended with the rubber because it would be easily wiped-out.


Put them on the wheels.
It's like what I wanted because still there was tiny black line between the rims the the white line.


Put them together on the chassis.


Recovery from Disaster - Shift Lever

Disaster happened.

When I tried to re-touch the paint of the gear shifting lever - that was already installed - it broke off.


Picture of previous condition - original gear shifting lever.


Picture of broken gear shifting lever.


Picture of current condition - modified gear shifting lever.


Here were the steps of the scratch build of gear shifting lever.


Material :
- Straight pin (jarum pentul - Indonesian).
- Toothpick : as the base.


Inaccuracies of Tamiya

Well, due to the workload in office, I hardly had time to continue this kit.
And because of that, I missed the calculation and order of the day, so from now on, I would update the progress based on the topic or activity.

As I mentioned in the title, this model had inaccuracy in suspension sector as the shock-breakers were not placed correctly, they were mounted askew.


I checked the instruction manual and I could see that the top parts of the shock-breaker hit the upper-arm.


When I checked the photo/picture of real one, it seemed that this was improperly created by Tamiya.


So, I modified this parts by adding some thin plastics.


Update :
After the additional parts was painted then the shock-absorber glued.


They didn't touch the swing-arm and the position were perpendicular.


I tried to put the steering arm and moved them to check whether the steering-arm touch the shock-breaker or not or in acceptable point.


Installed in the chassis.


It's good.


Day 15 - 10 Oct 2015 - finishing engine and transsmission

This day, I finished assembling engine and transmission parts and installed them to the chassis.
Rear wheel system installed too.


I put flannel fabric as the base-carpet.


Day 14 - 9 Oct 2015 - assembling engine and transmission parts

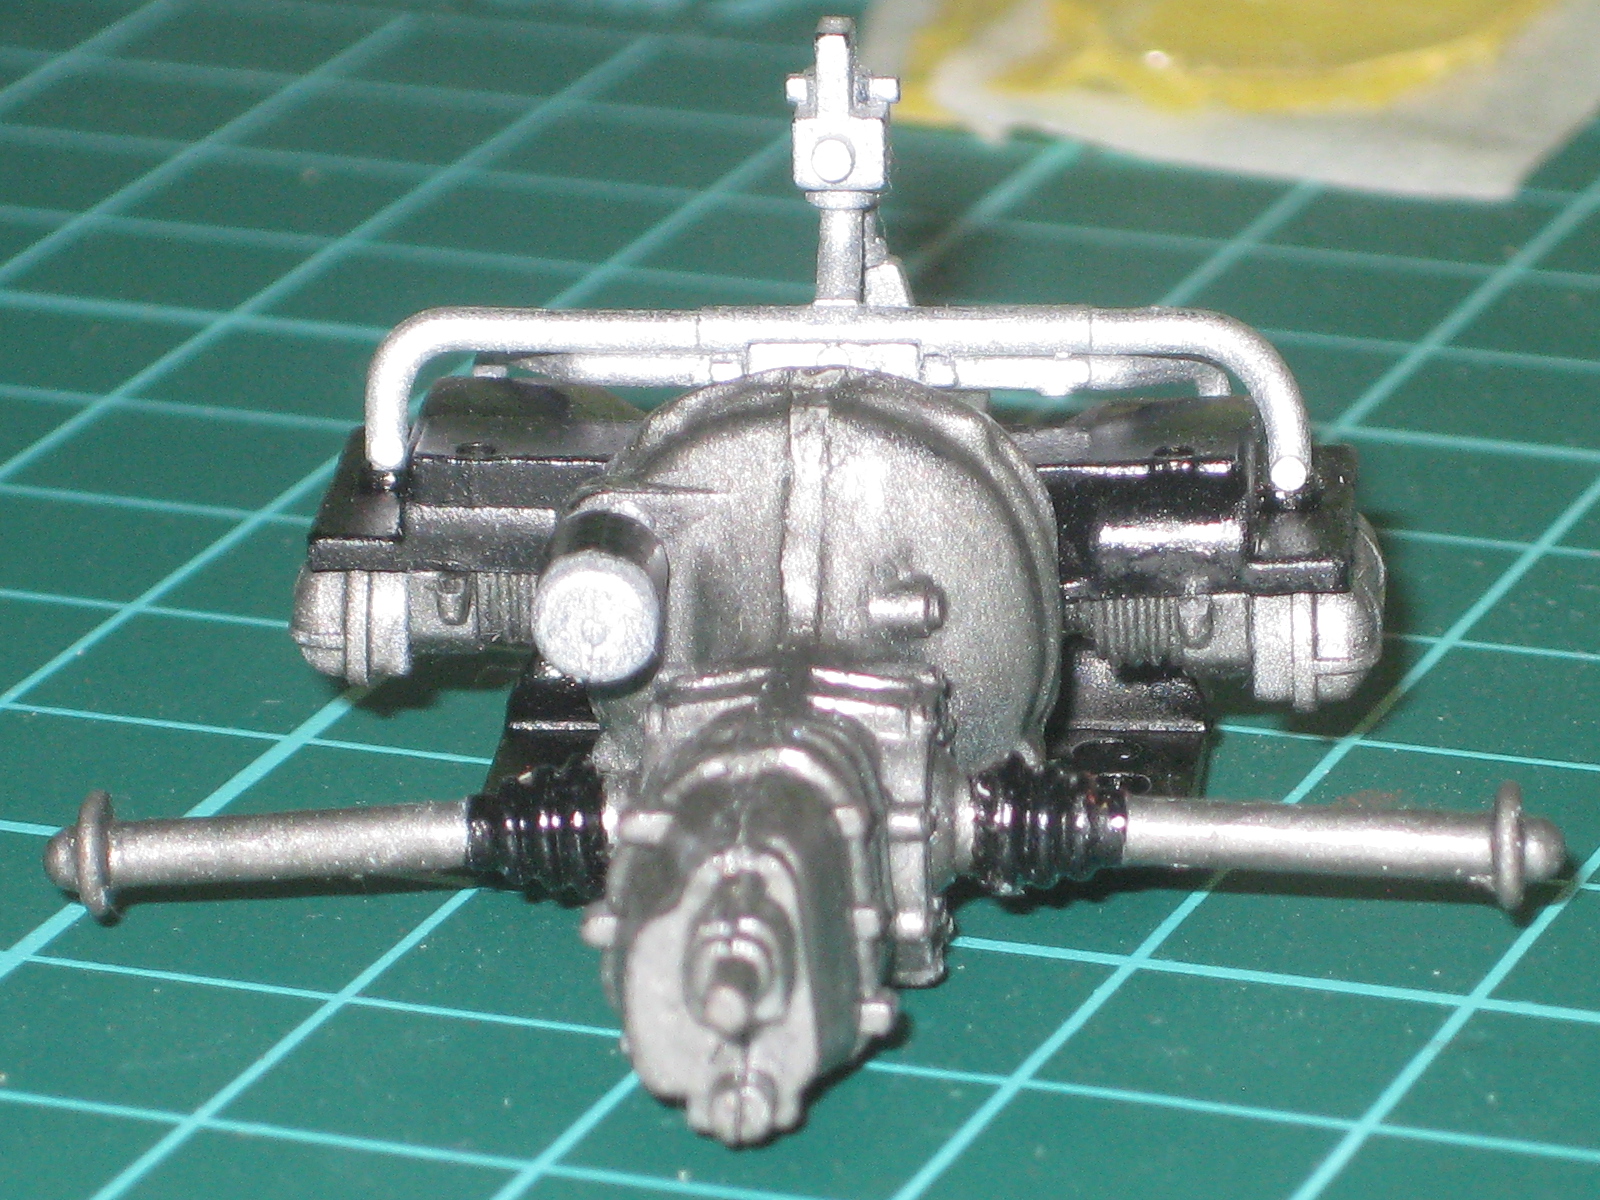
Continuing the work of assembling engine parts (here, here, here, and here), here was the result.
Another thing that I learnt, not all join-part must be glued due to the precision of the parts.


Still, let the glue dry before moving to another step.

Day 13 - 3 Oct 2015 - result of working in a hurry

At this day afternoon, I painted the interior parts and the body in a hurry and not in a proper mood.

For interior parts, it was okay since this was the first layer.


As I put the White Primer on this parts, the color was brighter than the body parts.

And here was the result of "disappointing" painting activity on the body parts.
The main cause was because I didn't clean them properly. Some dust stuck on top of the roof and I touched the wet-paint accidently.


I had to re-sand them but I had to let the paint dry properly.


Day 12 - 2 Oct 2015 - precision and patience - MASKING - Game On

Masking ....... game on.
This required sharp cutter as well as your steady hands, your good eyes, and your imagination.

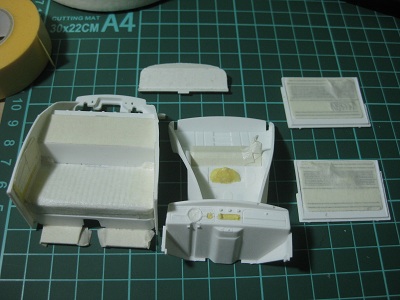
Interior parts


All interior parts.


Interior parts and window parts


I'd like to paint the interior with white, so I put masking tape on them.
I combined between tamiya masking tape and standard paper masking tape.


Day 12 - 2 Oct 2015 - precision and patience - 3

Six hour after I glued the engine parts.
I put them together to complete step #1 and #2.


I wrapped them with paper-tape/masking tape while waiting for the glue dry.


I did not use tamiya cement but all-purpose UHU adhesive.
I'm familiar with this adhesive.