Creating hinge

I got tips on creating hinges from Vandenbrouck Eric on Facebook in Scale modeler 1/24 group.


White-wall Tire


As this Beetle is classic one, I'd like to have the tire with white wall stripes on it.

The were several options :
- Drawing-pen marker, like Snowman marker
- Tire marker paint, like Toyo Paint
- Tamiya PS

I preferred to use the drawing-pen marker as it had smallest pen-tip and easier to control.

Make sure the tires were washed and dried.


Notice that there were tiny lines on the tire, near the inner rim.
There I would put the paint.


After painted with white marker. 
Seems the paint was not blended with the rubber because it would be easily wiped-out.


Put them on the wheels.
It's like what I wanted because still there was tiny black line between the rims the the white line.


Put them together on the chassis.


Recovery from Disaster - Shift Lever

Disaster happened.

When I tried to re-touch the paint of the gear shifting lever - that was already installed - it broke off.


Picture of previous condition - original gear shifting lever.


Picture of broken gear shifting lever.


Picture of current condition - modified gear shifting lever.


Here were the steps of the scratch build of gear shifting lever.


Material :
- Straight pin (jarum pentul - Indonesian).
- Toothpick : as the base.


Intermezzo - Build the tools - Grip Pen

Some tools can be build by our own like Grip Pen.

I built Grip Pen by my own.


Components :
- electrical insulation tape
- small alligator clamp
- small wooden-stick/skewer/bamboo skewer


Result :


Total cost was less than IDR 1,500 (USD 0.10-0.11) per piece.

Inaccuracies of Tamiya

Well, due to the workload in office, I hardly had time to continue this kit.
And because of that, I missed the calculation and order of the day, so from now on, I would update the progress based on the topic or activity.

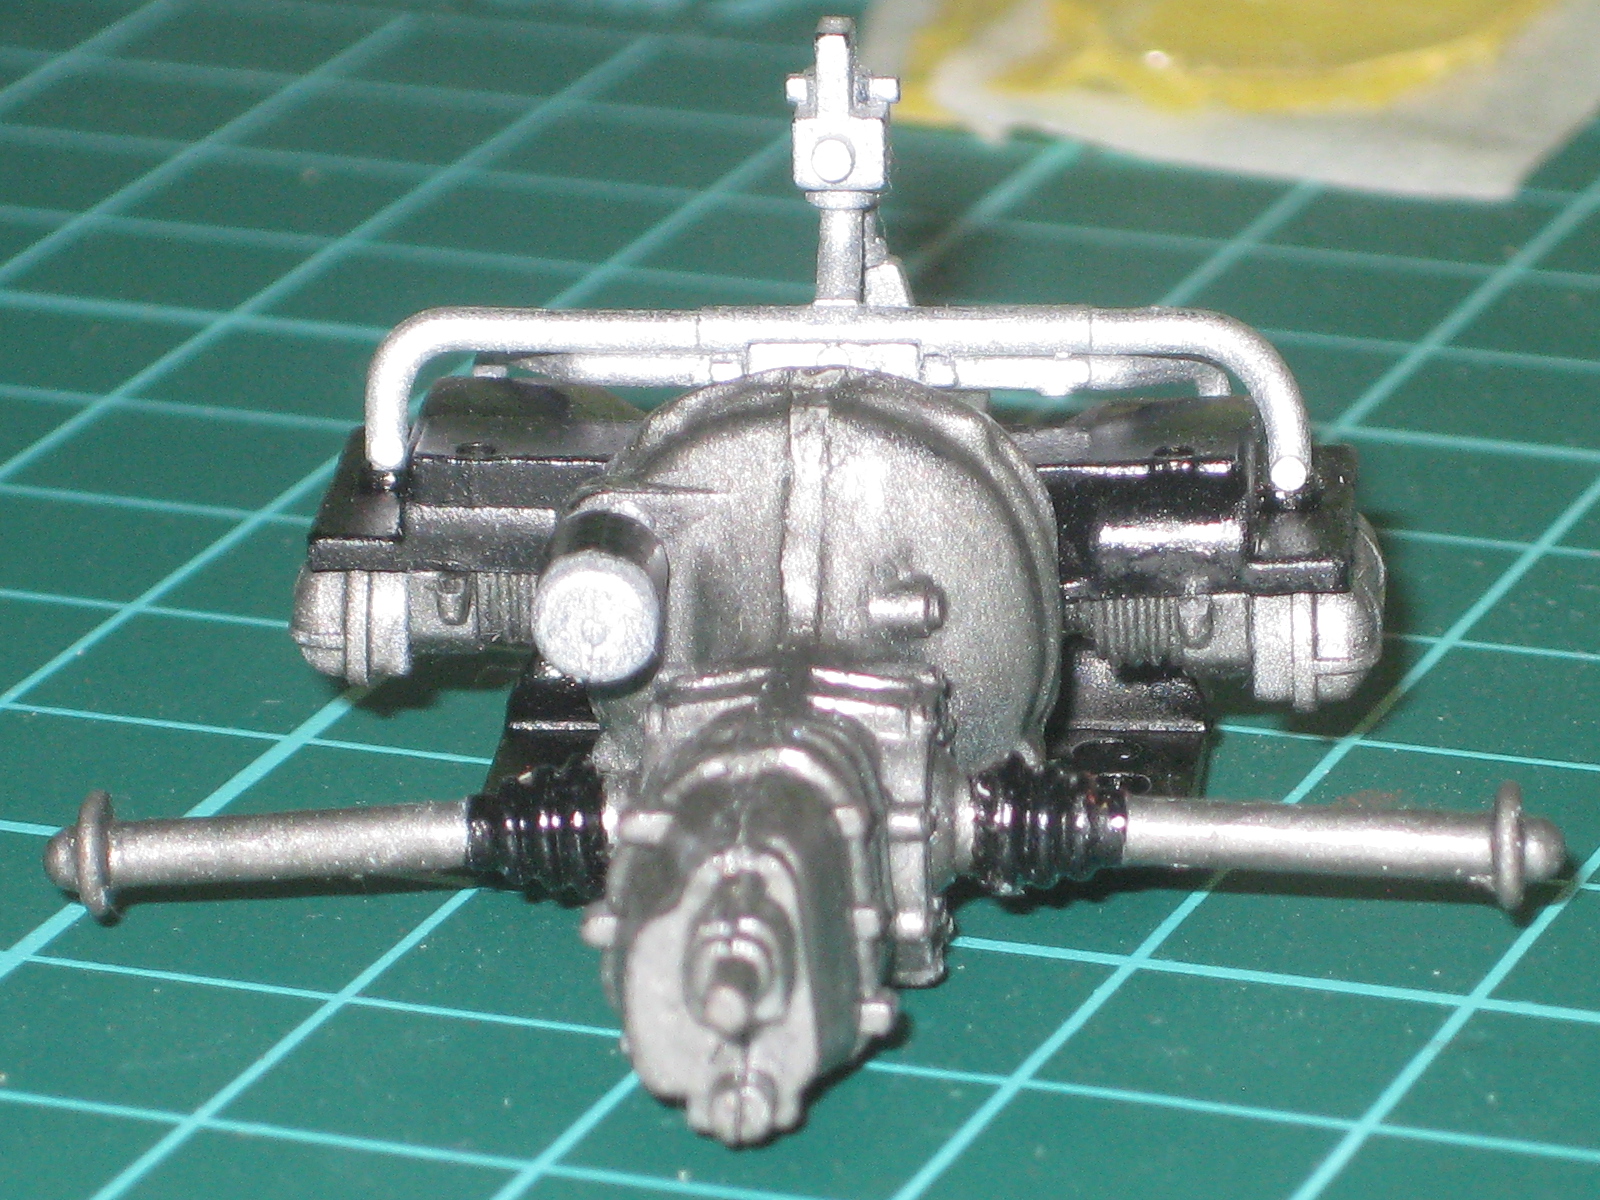
As I mentioned in the title, this model had inaccuracy in suspension sector as the shock-breakers were not placed correctly, they were mounted askew.


I checked the instruction manual and I could see that the top parts of the shock-breaker hit the upper-arm.


When I checked the photo/picture of real one, it seemed that this was improperly created by Tamiya.


So, I modified this parts by adding some thin plastics.


Update :
After the additional parts was painted then the shock-absorber glued.


They didn't touch the swing-arm and the position were perpendicular.


I tried to put the steering arm and moved them to check whether the steering-arm touch the shock-breaker or not or in acceptable point.


Installed in the chassis.


It's good.


Day 15 - 10 Oct 2015 - finishing engine and transsmission

This day, I finished assembling engine and transmission parts and installed them to the chassis.
Rear wheel system installed too.


I put flannel fabric as the base-carpet.


Day 14 - 9 Oct 2015 - assembling engine and transmission parts

Continuing the work of assembling engine parts (here, here, here, and here), here was the result.
Another thing that I learnt, not all join-part must be glued due to the precision of the parts.


Still, let the glue dry before moving to another step.